The max file (gwTut6_foresthouse.max) included for this tutorial isn't meant for each step of the tutorial. While you go through each step of the tutorial, you will be able to get ideas and tips on how to use GroundWiz Terrain Map & GroundWiz Planter and then experiment yourself.
Note that the max scene file (gwTut6_foresthouse_Lite.max) for this tutorial in GroundWiz Lite is simplified to be compatible with GroundWiz Lite.
It is not an easy task to make a nature scene look random and detailed from both close-up and far view.
First, GroundWiz Terrain Map will be used to create textures for the mountain in the spring.
After the ground is ready, GroundWiz Planter will help you plant a huge number of trees, rocks and grass objects and then modify and fine-tune some specific ones you choose the way you want.
Step1: Importing Terrain
For this tutorial, I imported a 3DEM file of real terrain into 3ds Max. If you are interested in how to import real terrain into 3ds Max/VIZ, you may refer to "Tutorial 4: Importing Yosemite Park into 3ds Max".
Step2: GroundWiz Terrain Map - Creating Basic Layers
To create a basic look of the terrain texture, first I created 4 layers: RockBase, Soil, Plants and Snow.
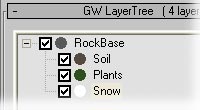
RockBase: It's a base layer in the layer tree for rocks. Set StrechUp to 10, RGB color to RGB 90/90/90, Bump Strength to 100, Detail to 50, Amount to 100, and Noise to 0.
Soil: This layer is for soil. Set StrechUp to 10, RGB color to RGB 90/90/90, Bump Strength to 100, Detail to 50, Amount to 100, and Noise to 0.
Plants: It's going to be a green area for grass and plants. Set StrechUp to 10, RGB color to RGB 48/80/32, Bump Parent Influence to 5, Bump Strength to 60, Detail to 52, Amount to 85, Noise to 50, Altitude Limits Max to 290, Altitude Limits Transition Height to 100, Slope Limits Max to 58 and Slope Limits Transition Angle to 15.
Snow: This layer is for the peak area of the terrain. Set StrechUp to 10, RGB color to RGB 255/255/255, Bump Parent Influence to 5, Bump Strength to 45, Detail to 70, Amount to 60, Noise to 25, Altitude Limits Max to 270, Altitude Limits Transition Height to 100, Slope Limits Max to 65 and Slope Limits Transition Angle to 10.
Tip: Since rocks are usually rough and bumpy, big Parent Influence and Bump Strength are recommended. Rock detail depends on what kind of rock surface you want to create. Generally, the bigger Detail is, the more sandy and finer it is. I usually use detail for rocks up and down around 50%. On the other hand, for plants and snow layers, small Parent Influence and Bump Strength are used. Particularly, snowy area is likely to look soft and smooth. However, you can still adjust these parameters to achieve the best result you want the way you desire
Step3: GroundWiz Terrain Map - Adding Variation
After the basic layers were set, I added children layers to the basic ones to get more varied look.
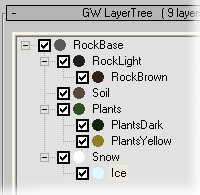
As seen in the above image, Rock, Plants and Snow layers were given children layers that added nice variation especially to color. To see how layers were set up, please open the tutorial max scene file.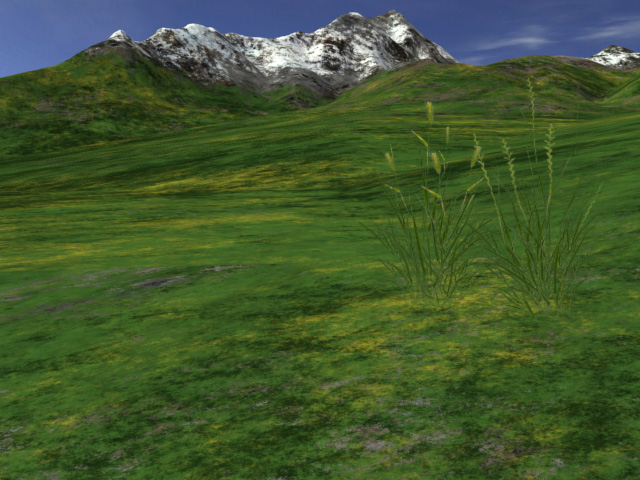
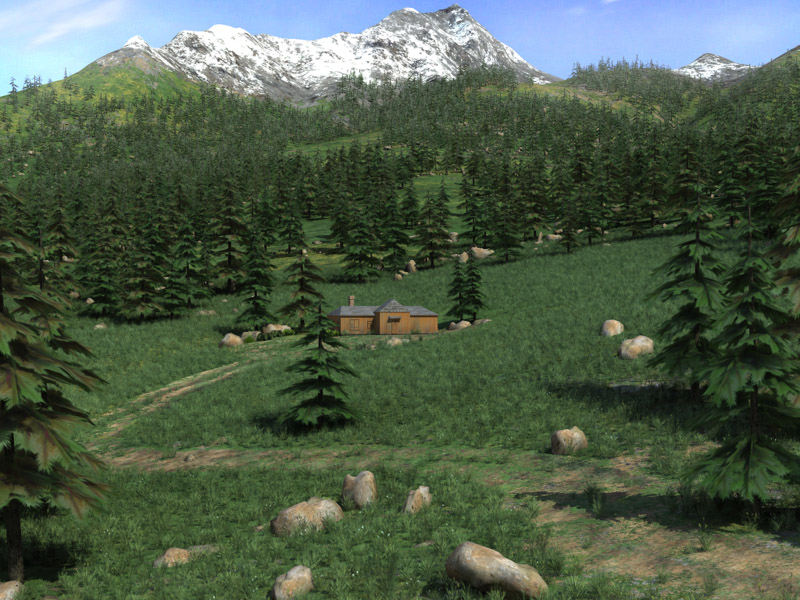
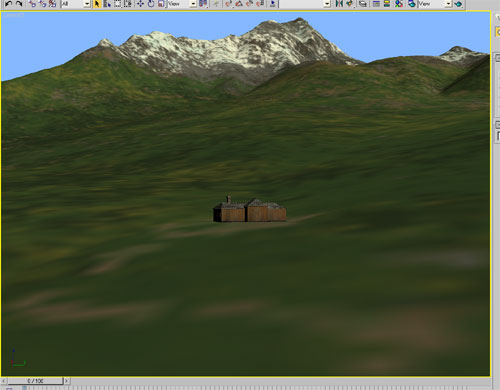
Picture1 was rendered with 9 terrain layers mentioned above.
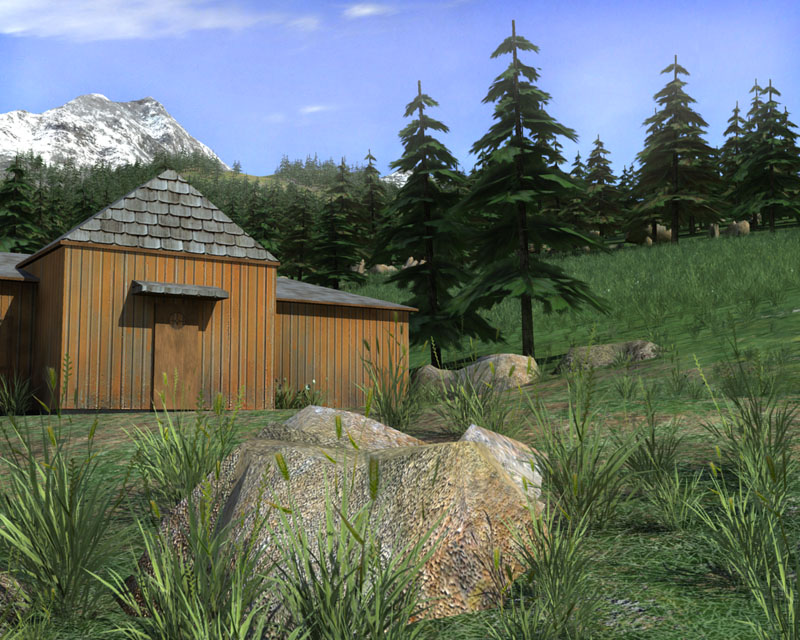
The mountain scene already looks decent but if you desire to have enough detail for close-up views and also add more realistic colors to the terrain overall, real-life photo textures may be used for the color map. Mixing RGB color and photo textures through the GroundWiz layer setup will also add a lot more variation.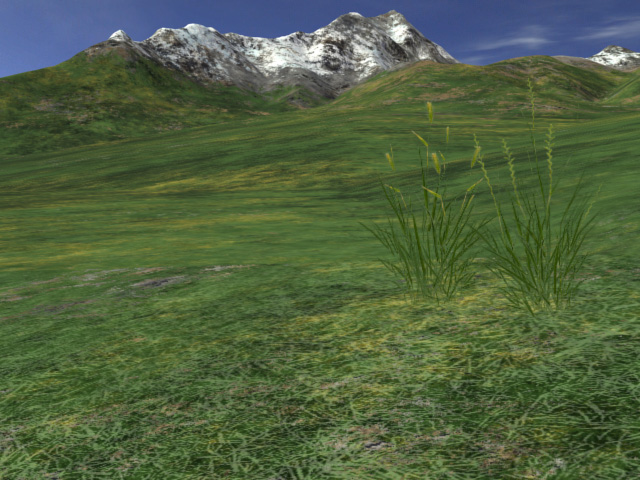
Picture2 was rendered with layers mixing RGB color and photo textures.
Step4: Creating a Dirt Road
After the basic mountain texture was done, I wanted to place a house on the hill side and create a dirt road that starts at the house and fades away into the valley. To make a road, I added a new road layer with the limit map.
1. Limit map
=>
2. Zoom-in on the limit map
The white circle was the place where a house was placed and 2 long white lines formed the dirt road. I also used the same image for road layer's bump map (except inverted) to give some depth to the road. Of course, before the image could be used, I had to apply UVW mapping to the terrain.
Dirt road created with a limit map
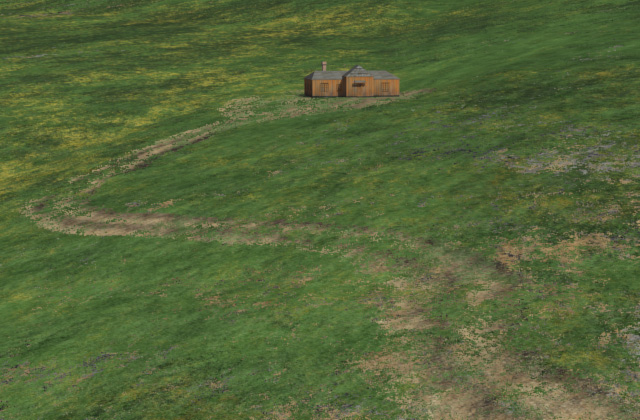
Step5: Placing objects (using Viewport texture / Focused Area texture)
To place the house in the previous picture, I used 'GroundWiz Viewport Texture' feature. By pressing the 'Update' button in the Preview Panel of GroundWiz map, a terrain texture was created that was shown in the viewport.
Viewport texture covers the whole terrain.
In this case the whole terrain was huge so texture resolution around the house was too small to be useful when placing objects. For that reason, another option was added to the Preview Panel: 'Focused Area' texture. This way it is possible to create a viewport texture for a smaller area and really get all the texture resolution where needed.
To learn about how to set up and use Focused Area viewport texture, please read: 'Focus Area Obj' section in the reference guide.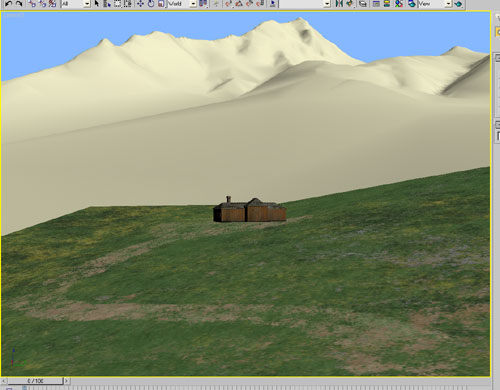
Focused area viewport texture
Step6: Planting Trees and Rocks
After having created a descent terrain map, it was time to plant objects with GroundWiz Planter. I used two pine trees and two types of rocks to create a forest. For each pine tree, I used three LOD objects. In this case 2 GroundWiz Planters were used: one to hold pine trees and the other one to hold rocks. There was really no need to have 2 planters, except that it was a bit easier to have different settings for planting.
To achieve more varied and random look, Plant Transformations panel offers numerous options on how to position, scale and rotate objects.
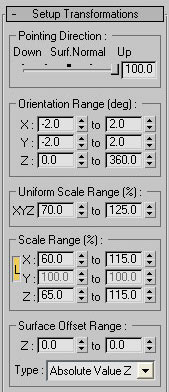
1. Settings for trees
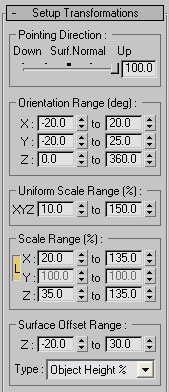
2. Settings for rocks
With 'Do self collision' option on, I planted trees first and then adjusted parameters for rocks to make some of them sink into the ground more than others before planting them.
To plant objects:
- First I used Mass Planting tool to quickly place objects all around the scene. Pressing 'Plant Now' starts the planting process that depending of the settings and the area size, can take quite some time.
- Secondly Detailed Planting was used to clean up forest around the house. Brush Planting proved to be a very handy tool in this case.
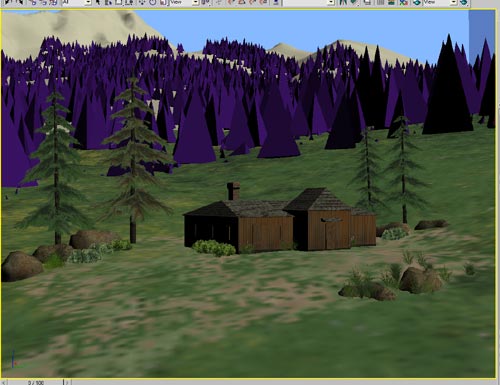
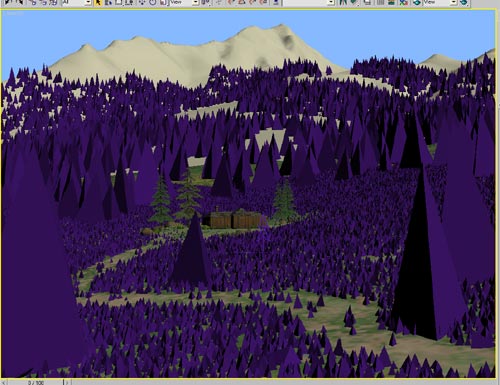
Planted objects displayed in Proxy mode for better redraw speed
Step7: Planting Grass
I added a few kinds of grass to the list of Planted Objects. Since grass is small and not going to be seen from far, LOD Max Visibility value was set to be quite big, which made grass disappear sooner.
To avoid planting grass on the dirt road, GroundWiz Layer Limits option was used with 'Plants' layer in the list. House was added as a collision object to the list of Max Objects to avoid colliding with plant objects and using Max Object Influence parameters, I made grass shorter and scarcer, approaching the house.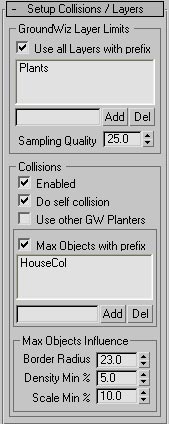
Grass was planted around the house and road (displayed in Proxy mode)
Step8: Rendering the Scene with mental ray
When rendering with MR (mental ray) and GroundWiz Terrain Map is used as a bump map, in that case you need to use 'GroundWiz Output' to 'hold' GroundWiz Terrain Map. Please read more about it in the 'GroundWiz Output' section.
If the scene is big (many millions of triangles), it is important to set up MR renderer correctly (Large BSP and other settings). Please refer to mental ray Shaders section.
And here is the end result...